The sun has come out (periodically), and the temperature has reached the balmy 50F’s here in northwest Washington state. This has inspired me to get outside and build bottom screen for the hives. I need to do this, now. I have queens scheduled to arrive in June, and although I’ve enough boxes, frames, collars, and tops, I don’t have enough bottom screens.
BOTTOM SCREENS
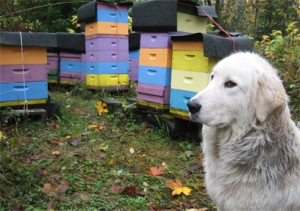
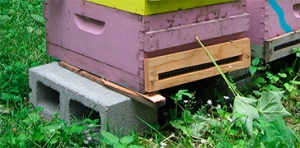
My hives sit on screens, which, in turn, sit on six inch concrete blocks. I gave up solid bottom boards a number of years ago. It is very wet here, and the bottom screens seem to allow more ventilation in the hives, which keeps them dryer. They are open year round – even in deep snow (which is an insulator). Which are then guarded from bears by my livestock guard dog (a Maremma)– that’s his job.
Making The Bottom Screens
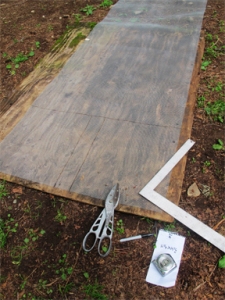
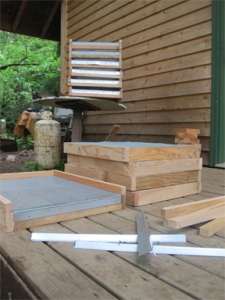
First I roll out 1/8th inch hardware cloth and cut it to size.
I like to work outside. The light is better, the air is nice, the birds sing, and the dogs and goats visit.
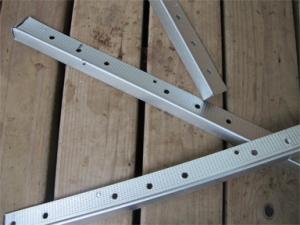
Then I cut dry wall corner molds (at least I think that’s what they are). These are sold in 8 foot lengths in the dry wall area of the big box stores. They will form the “door stop” for the bees entrances.
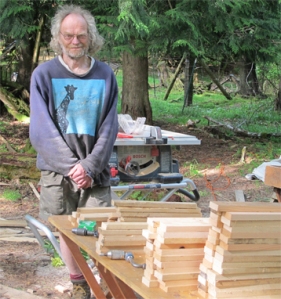
Then I convince my hard working husband, who makes wonderful handcrafted furniture, to drag his table saw up to the land of bees and beekeeping to cut the hundreds of pieces of wood I need. Every bottom screen has seven pieces of wood: 4 for the base and 3 for the “U” shaped upper rim.
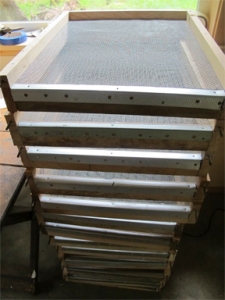
Assembling the base is the next step. Each base is a rectangle, the same dimensions as a bee box. The bases are two inches tall. This come from reading that if a mite happens to fall through the mesh, it can climb back up into the hive if the drop is not two inches or more.
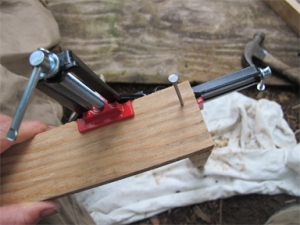
Yep – hammer and nails. Oh, I could use the air compressor and power stapler, but did I mention the joy of the bird song and visiting animals? They don’t like the air compressor and power stapler. In the end, both methods take the same amount of time. Each corner gets 2 nails.
Time to lay in the screen. I find assembling easier if I hold the screen in place with staples. These are the same staples and stapler that I use to attach tar paper to the sides of sheds (and others use them to attach plastic to houses – I’m not a plastic fan).
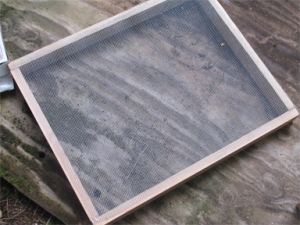
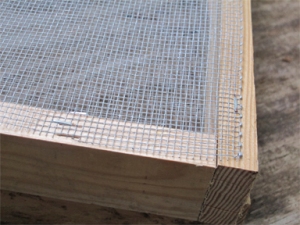
The top “U” and the “door stop” are now put in place. Each piece of the “U” is 3/4 inch tall.
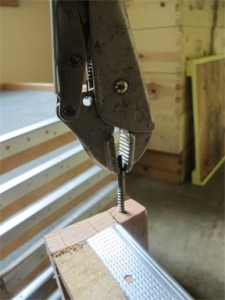
The final addition are two hanger bolts screwed into the front of each base. (I know these bolts as “plant hangers”, but the official name is hanger bolt.) One goes on each side of the opening and serve to hang the mouse guard that is placed on every hive.
Now I just have to wait until it stops raining to paint the bottom screens. Yes, it started raining again, that’s why the hanger bolts got put on inside the work area.
The finished product will have paint and a removeable mouse guard. Bottom support is concrete blocks (which sometimes need a bit of help to level).
That’s the news from Brookfield Farm Bees And Honey, in Maple Falls, Washington. Next on my list is to go out and prepare the new bee yards where the new splits and their new queens will be going. Happily, they say it will stop raining here soon.
What’s happening in your bee yards these days? I hope your weather is better than ours.

